Tutorials

Watch it made, then make your own.

Real walkthroughs recorded in the actual product — every click, every screen, narrated step by step.

Your first picture book

How to make a picture book with AI, start to finish: writing, art style, character look, and page-by-page pictures — the complete first-book flow.

Runtime 3:12 Narration: English

Read the steps
  1. Compose idea Everything starts here. Type your story idea — a single sentence is enough. You can also paste a whole story, or add your own characters.
  2. Options and go Genre, age and book shape are optional — Auto already picks well. When you are ready, press Start creating.
  3. Thinking Pudding starts writing your story. It takes about a minute, and the finished text appears word by word.
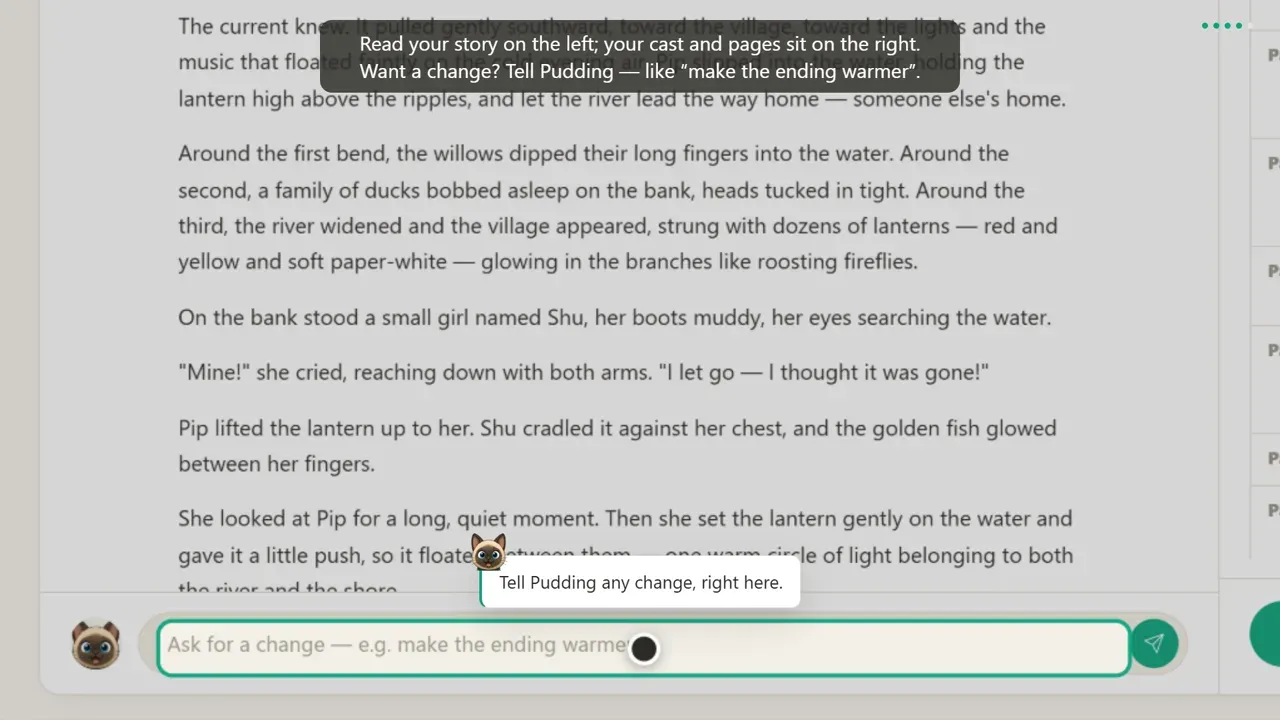
  4. Cocreate Read your story — the right side keeps your characters and every page organized. Want a change? Just tell Pudding below, like “make the ending warmer”, and the story updates while everything else stays put.
  5. Quick edit Want to rewrite just one passage? Select it — a small toolbar pops up with one-tap fixes: smoother, shorter, more vivid. Custom drops the passage into the chat so you can say exactly what you want — only the selected passage changes.
  6. Style Now choose how your book should look — eighty illustration and art styles. Pick the one you love and press Use this style. That locks the look for every page.
  7. Treatment Before painting the real pages, Pudding shows a free visual proposal, so you can feel the book’s atmosphere first — with a cost estimate for the full book. Like what you see? Continue to global assets.
  8. Assets Meet your cast. Generate each character’s look and confirm the one you love — confirmed looks keep everyone consistent on every page. A quick guide lives right on this canvas if you want more.
  9. Asset types cast Every character starts with a portrait that fixes their look, plus a base-look sheet — the same look from every angle, broken into parts, so they stay recognizable on every page. When the story needs a costume change, outfit sheets grow from the same base look.
  10. Asset types world Below the cast live the world assets: scene sets for the places your story happens, prop sheets for important objects, and combo shots that teach how a character holds and uses a prop. Together they keep every page in the same world.
  11. Fix an asset Not happy with any image? Open it, and just tell Pudding what to change — like “add a small yellow scarf”. Only this image gets repainted, and this same chat works everywhere on Readkidz.
  12. Make book Time to make the book. Generate all queues every illustration at once — grab a cup of tea while the pages paint themselves.
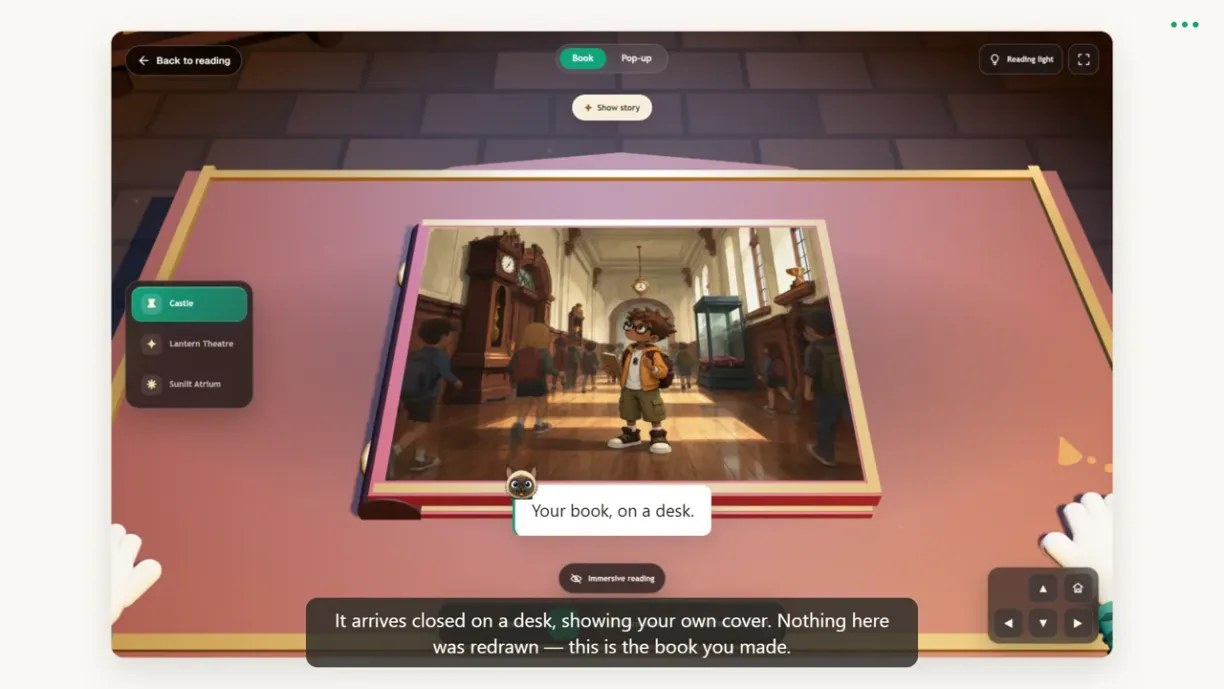
  13. Done And that’s it — your first book is on the shelf. Open it any time to read together, keep editing, or print a real copy. Now go make another one.
Try it yourself →

Your first comic — Act One

How to create a comic with AI: plan a story framework, confirm the script, and draw the whole first act — five finished pages with consistent characters.

Runtime 3:04 Narration: Chinese

Read the steps
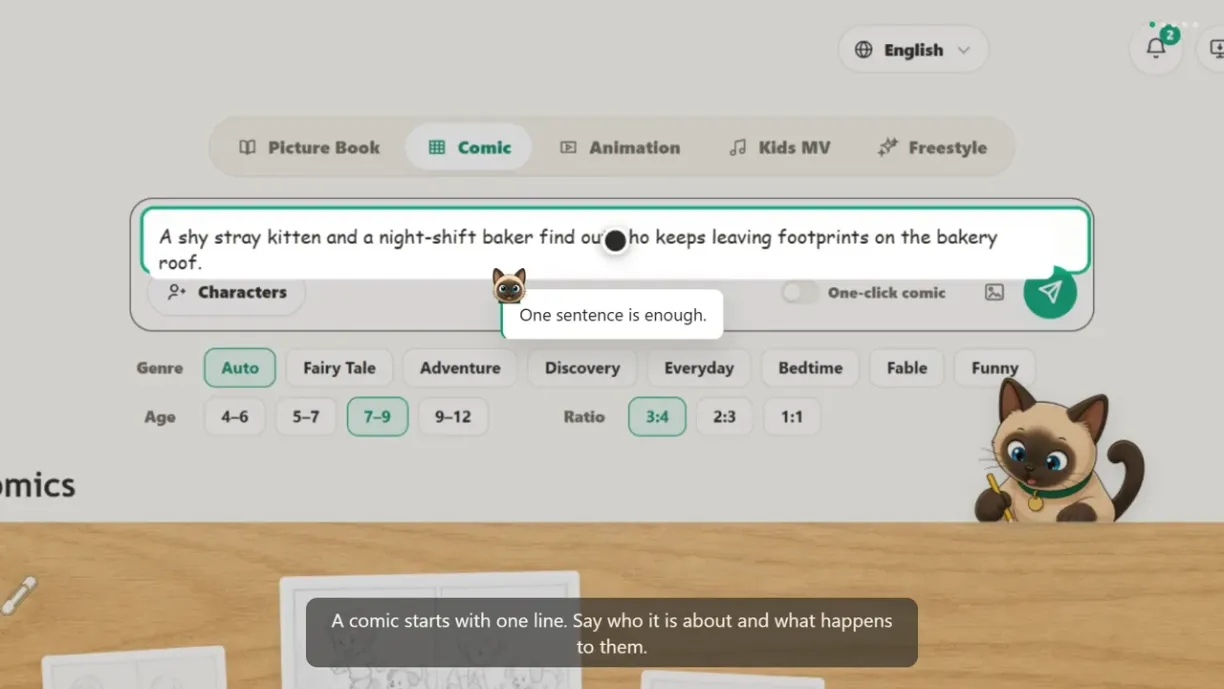
  1. Describe your idea A comic starts with one sentence — a hero, a problem, an adventure. Below it, pick the genre, age range, and page ratio; Language decides which language the story is written in. When it reads right, send it.
  2. Build the story framework Pudding first builds the comic's skeleton: the world, the characters, and a five-act outline. Only after you confirm the framework is the script written act by act — you pay only for what you use. Click 'Write Act 1' to begin.
  3. Read the first draft Act 1 is written — scenes, actions, and dialogue are on the left. It is still a draft: until you confirm it, change anything you like.
  4. Revise by chatting Want a change? Just tell Pudding. Questions cost nothing; for script changes he drafts a candidate first, placed under 'Pending revisions'. Only when you click 'Accept revision' does it replace the current script.
  5. Quick-edit a passage Only touching a small passage? Select it and a toolbar floats up — smoother, tighter, expand, more vivid, more childlike, or custom. When it reads right, confirm Act 1.
  6. Choose the art style Next, set the art style for the whole comic. The large image is a preview; browse or search the row below. Once chosen, characters, sets, and pages are all drawn in that one style.
  7. Accept the visual proposal After the style is confirmed, Pudding drafts a visual proposal: a sample page laid out with your story, so you can see what the finished comic will look like. The story brief and dialogue list are on the left. If the direction works, accept it and move on to global assets.
  8. Prepare the assets This is the comic's asset desk: one row per character — portrait, breakdown sheet, outfits — with set images on the right. Every later page references them, so get them right first. 'Generate all' fills any gaps in one pass; when they are ready, head to storyboarding.
  9. Fix an asset Not happy with an image? Click 'Edit' to open it. 'Details' changes the design and prompt; in 'Revise' you tell Pudding directly what to change. Questions are free — you are only charged that asset's price when a new image is actually drawn.
  10. Plan the storyboard On to storyboarding. 'Plan storyboard' splits the act into comic pages, writing out each page's visuals and dialogue for you to review first. When it looks right, 'Draw all' brings them to life.
  11. Draw the pages Drawn pages are finished pages: panels, speech bubbles, and captions are baked into the art. To adjust one panel, click 'Ask Pudding to fix it' — you can target a single panel within the page.
  12. Preview and share Preview the whole act on the left — scroll or flip — and export a ZIP or share it. When this act is done, go back to storyboarding to write Act 2. Everything is saved in My Works.
Try it yourself →

Your first AI generation

How to use the AI art generators: pick a model, describe what you want, and get images and video back in minutes.

Runtime 2:11 Narration: English

Read the steps
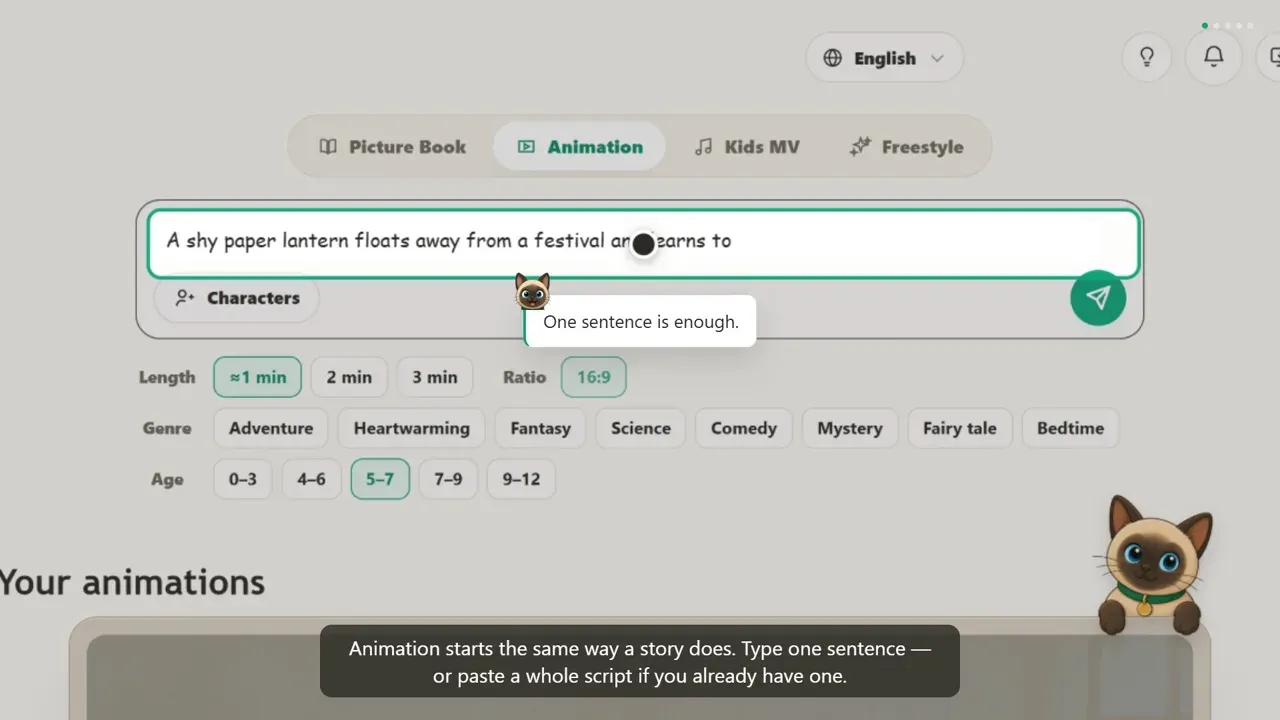
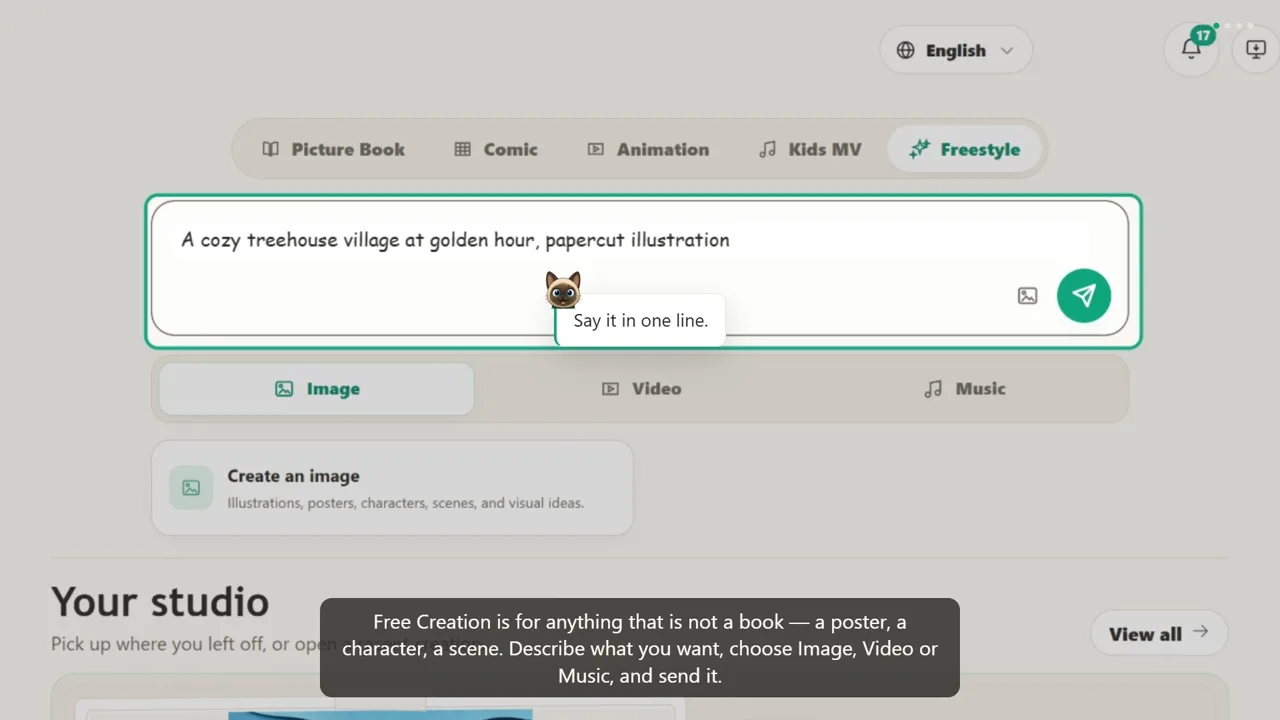
  1. Describe your idea Free Creation starts with one line. Describe the image you want — style, mood, subject, whatever matters to you. Pick Image, and send it.
  2. Confirm the cost Nothing is charged until you confirm. The card shows the model, the shape and the estimated credits, and Adjust opens every setting. Press Confirm and generate when it looks right.
  3. Your first image Your image lands on the canvas as a card. The canvas is permanent — everything you make stays here, side by side. Preview opens it full size, Details shows the prompt behind it.
  4. Keep building on it Keep going from what you just made. Click the card to carry it forward, then ask for a change — make it night, with lanterns glowing. You get a new card, and the original is never overwritten.
  5. Use a reference image Whatever you reference shows up as a thumbnail above the input. Control-click to bring in several cards at once, and Clear selection starts fresh.
  6. The reference result With a reference attached, the new image keeps the look of the one you picked. The line between the cards shows what came from what.
  7. Clone a photo A look can also come from outside. Upload any image with the paperclip, then press Learn this — Pudding reads its visual rules and shows you what it found.
  8. The cloned result Then name a completely new subject. The look carries over while the subject changes — same visual language, brand new picture.
  9. Organize the canvas As the canvas fills up, press Organize. Everything snaps into a clean tree so you can see what came from what, and Undo layout puts it back.
  10. Works landing Creation history on the right lists everything in order, and clicking an entry finds that card. Your work is saved automatically and waiting in Mine.
Try it yourself →

Questions

Are these real recordings?

Yes. Every tutorial is captured in the actual product — real screens, real clicks — and then narrated step by step. What you see is what the product does.

Do I need an account to follow along?

Not to watch — the videos and written steps are all on this page. To make your own, hit Start Creating: it is free to start and no card is required.

What languages are the tutorials narrated in?

English and Chinese today. This page — and the product itself — are available in 25 languages.

Does following a tutorial cost credits?

Watching costs nothing. Creating uses credits, and the product always shows you the cost and asks you to confirm before anything is charged.